 Save
Save I discovered these by accident one Tuesday afternoon when I was cleaning out my fridge and found cottage cheese that needed using up. Rather than tossing it, I wondered if I could bake it into something crispy and snackable, and I'm so glad curiosity won that day. The first batch came out golden and impossibly crunchy, and I immediately understood why people get excited about high-protein snacks that don't taste like cardboard. Now I make them whenever I want something satisfying that won't derail my goals.
My friend Sarah came over on a Sunday and was skeptical when I pulled these out of the oven—she wrinkled her nose at the cottage cheese base—but one bite changed everything. She sat on my kitchen counter eating them straight from the container while we caught up, and I think I've made a batch for every time she visits since. There's something about watching someone's face shift from doubt to genuine delight that makes cooking feel worthwhile.
Ingredients
- Cottage cheese: Use full-fat or low-fat with small curds; large curds get chalky, so taste before you buy.
- Garlic powder: This does most of the heavy lifting flavor-wise, so don't skimp.
- Onion powder: Balances the garlic and adds subtle sweetness.
- Smoked paprika: Optional but transforms these from plain to genuinely exciting.
- Black pepper and salt: Freshly ground pepper matters more than you'd think here.
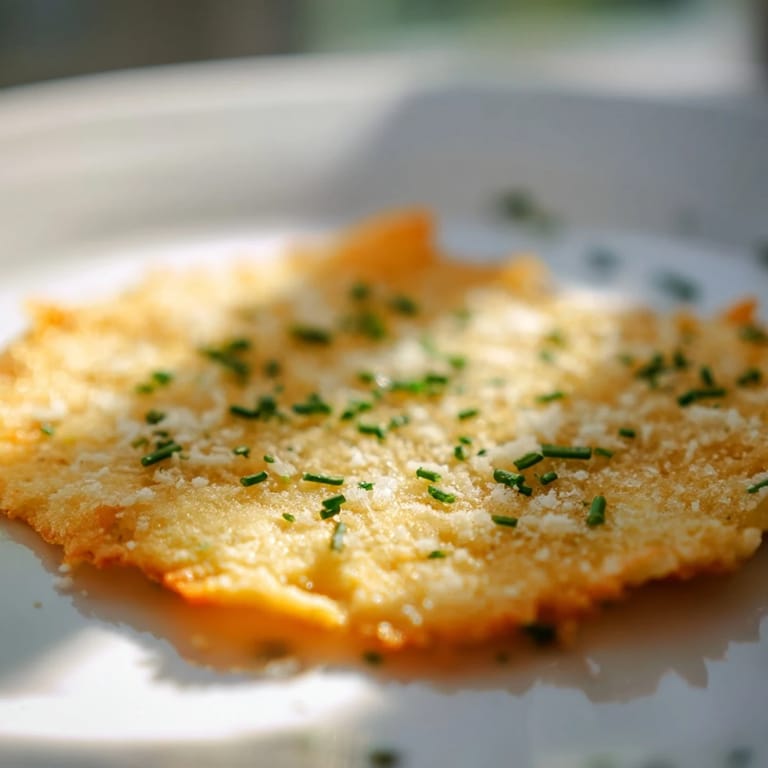
- Chives and Parmesan: Sprinkle these on top before baking for a flavor boost and visual interest.
Tired of Takeout? 🥡
Get 10 meals you can make faster than delivery arrives. Seriously.
One email. No spam. Unsubscribe anytime.
Instructions
- Heat and prepare:
- Preheat your oven to 350°F and line a baking sheet with parchment paper. This low-and-slow temperature prevents browning too fast and keeps the insides tender.
- Drain the cottage cheese:
- This is non-negotiable for crispiness. Push the curds through a fine-mesh sieve, then pat them bone-dry with paper towels. I usually press for a full minute to get as much whey out as possible.
- Season and mix:
- Combine the drained cottage cheese with garlic powder, onion powder, paprika, pepper, and salt in a bowl. Stir until the seasonings are evenly distributed and the mixture looks slightly fluffy.
- Form the chips:
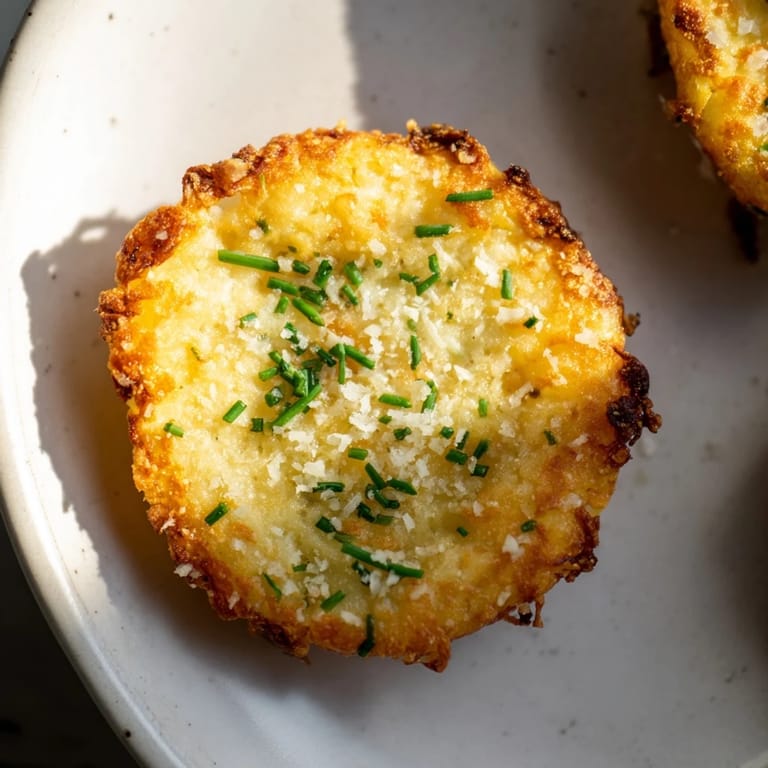
- Spoon tablespoon-sized mounds onto your prepared sheet, spacing them about 2 inches apart. Using the back of your spoon, gently flatten each mound into a thin circle—about 2 to 2.5 inches wide. Don't press hard or you'll squeeze out moisture.
- Top if you like:
- Sprinkle with fresh chives or grated Parmesan now. These toppings add flavor and a little textural contrast.
- Bake until golden:
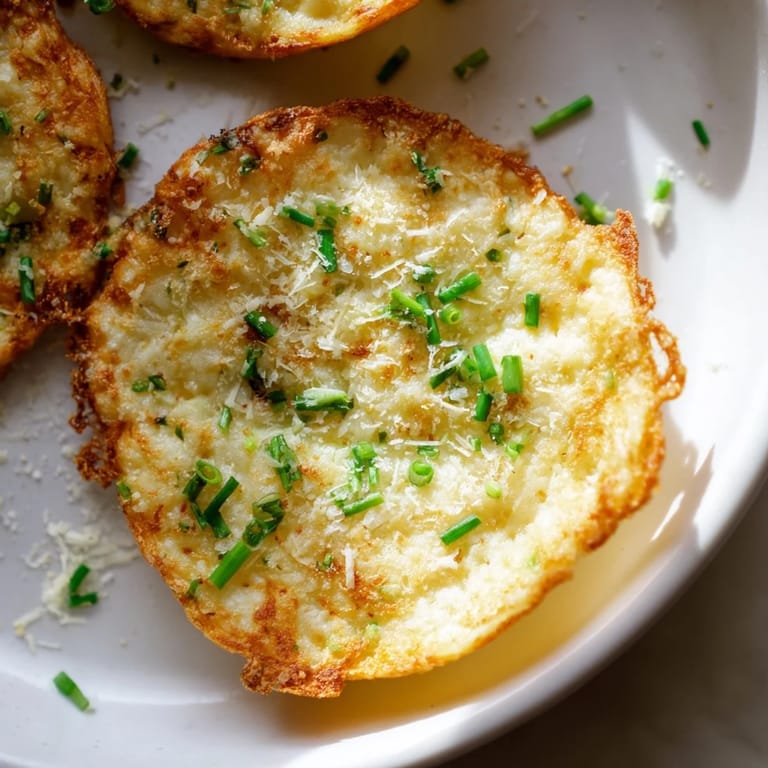
- Bake for 30 to 35 minutes until the edges turn golden brown and the centers look set. The longer edges should look slightly darker than the middles.
- Cool completely:
- This step is magic—as they cool on the sheet, they crisp up even more. Patience pays off here.
- Store or serve:
- Lift them carefully off the parchment and serve right away, or store in an airtight container for up to 2 days. They stay crispy if you keep them sealed.
 Save
Save My mom tried these and asked for the recipe immediately, which felt like validation I didn't know I needed. She started making them for her book club meetings, and now half her friends ask her for the recipe. That's when something stops being just a snack and becomes a little moment of connection between people.
The Science Behind the Crunch
Cottage cheese is mostly water, which is why draining it matters so much. When you bake those curds, the remaining moisture evaporates and the proteins set into crispy little structures. The seasonings caramelize slightly and stick to the surface, adding depth. It's basically turning a dairy product into something that behaves more like a cracker, which is pretty clever when you think about it.
Flavor Variations Worth Trying
Once you nail the basic recipe, you can take it in so many directions. I've made batches with everything bagel seasoning, ranch powder, smoked salt and cayenne, and even a slightly sweet version with cinnamon and a tiny pinch of salt. The formula stays the same; you're just swapping out the seasonings. Every variation has surprised me in its own way.
Serving Suggestions and Storage
Eat these straight from the container as a snack, or serve them alongside dips like tzatziki, salsa, or guacamole. They pair surprisingly well with hummus too. I've even crumbled them over salads for a protein-packed crouton replacement, which sounds weird but works beautifully.
- Store in an airtight container at room temperature for up to 2 days, though they're best eaten within 24 hours.
- If they soften, you can re-crisp them in a 300°F oven for 5 minutes, but it's never quite the same as fresh.
- Make a double batch and freeze unbaked mounds on a sheet, then bake from frozen (add 5 to 10 minutes to the time).
 Save
Save These chips taught me that the best snacks are the ones that don't feel like a compromise. They're worth the small effort, and honestly, people always ask for the recipe when they taste them.